


Ditch Firebase: Authenticating with Twitter in Flutter (the non-Firebase way)
Beyond Firebase: Build your own Twitter login for Flutter apps.


Streamline your Flutter app's development with a native Twitter login solution. This in-depth guide explores implementing Twitter Authentication without Firebase, empowering you to create a seamless user onboarding experience, reduce third-party dependencies, and enhance your app's overall performance.
Context
Let's assume you are creating a flutter application for which your users have to register, but cal log in using their social identities such as Twitter.
If you are wondering why, think about it:
most internet users have at least one social identity. All mobile users have at least one (Google identity for Android users, Apple identity for Apple users)
it is very easy for users to access your app if most of the login is done without a password
you can receive users data from social providers, if users allow your app to give their data to your app.
registration could be a barrier to entry for users as it requires more steps and sharing of data
There are popular social identities such as Google, Facebook, X (formerly Twitter), LinkedIn and many others.
In this article we will go beyond to building our own Twitter Login without Firebase.
Authentication with X (Formerly Twitter)
- Setting up Twitter Developer Portal
Here are a number of steps we are going to follow to setup Twitter ready for development.
Create an account in Twitter for Developers website https://developer.twitter.com/en and create your first Project
Generate
api keys,secret tokens&callback urlsin your developer portal for your project. Ensure to update your project settings such uploading the App Icon, Name and Description.For the
callback Url, you may have as many as possible. But ensure you add this as one ofcallback url. I will show you where we will use it later.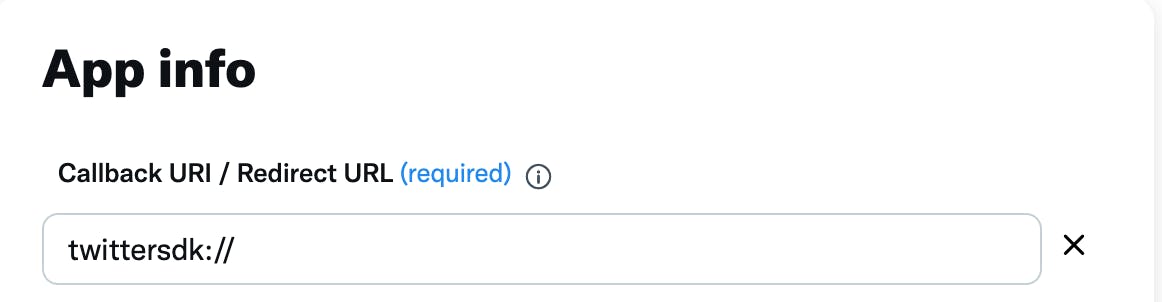
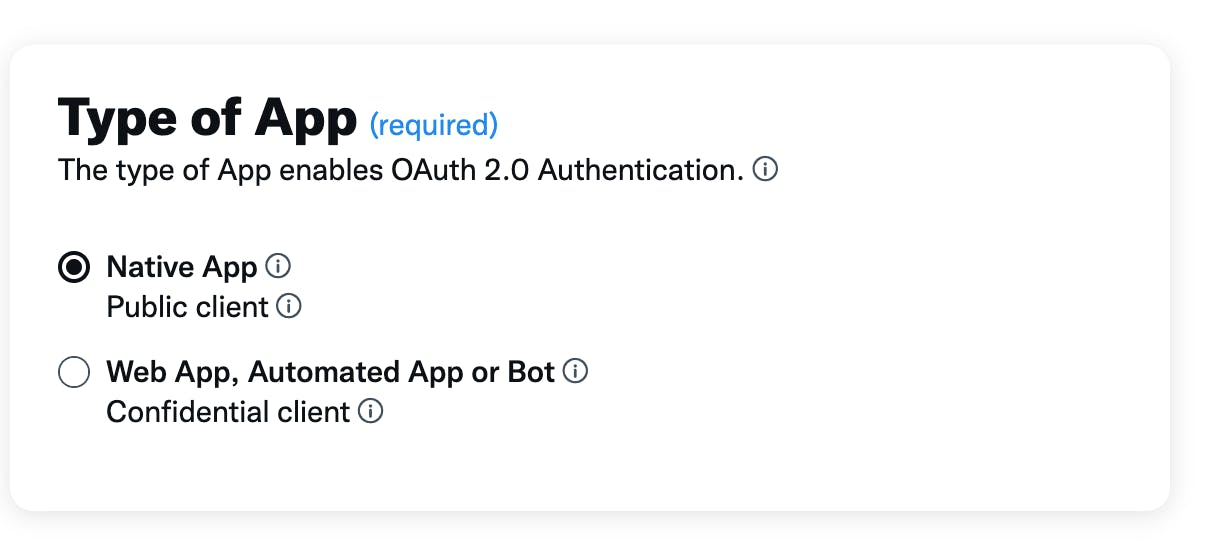
- For the type of App, it depends, but in this case we are developing a Flutter Mobile Application, so please select your settings as follows:
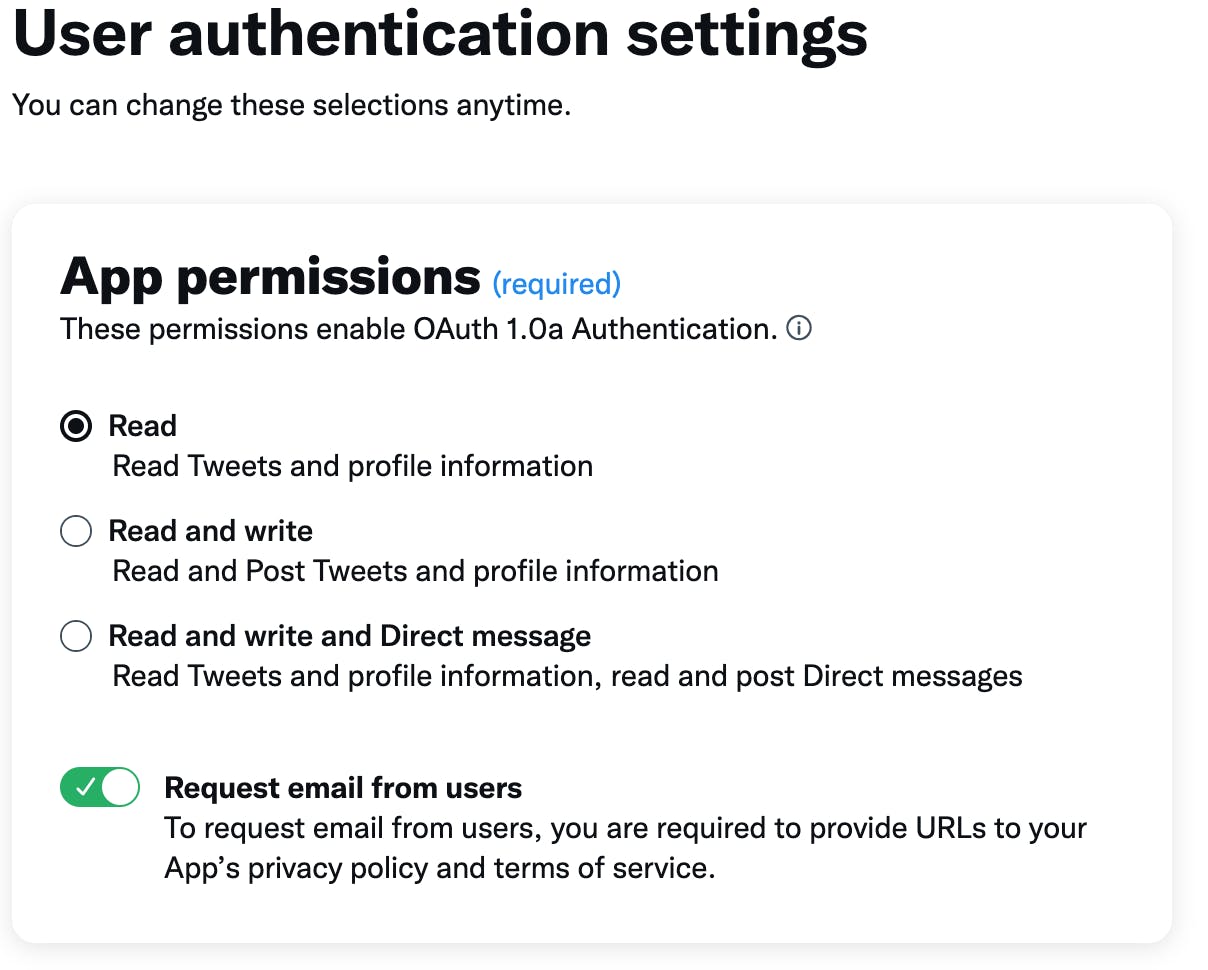
For the App Permissions that enable OAuth 1.0a Authentication, ensure you check the Request email from users.
Lastly, generate your api keys and secret keys for your project.
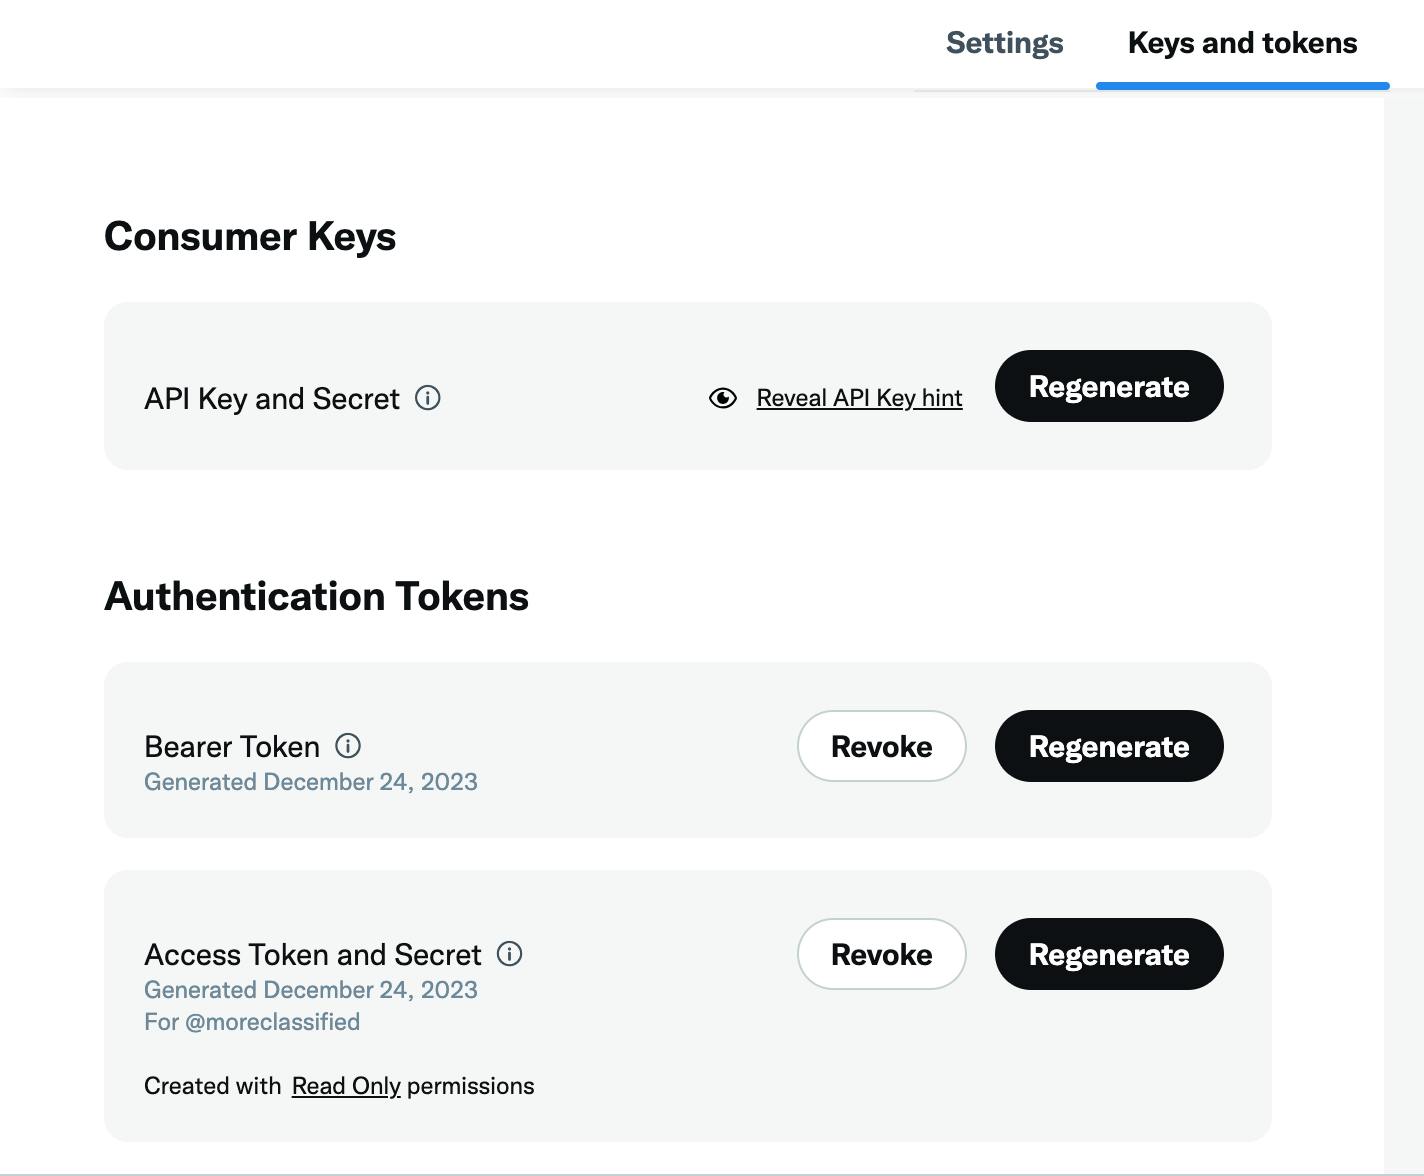
That's all. You have set up your twitter developer portal project.
Setting up both Android Manifest and iOS info plist files for twitter login
Now we have already set up our project in the developer's portal. I am sure by this time, you can create your Flutter project using
flutter create twitterauth. I will explain the steps to initiate the Twitter API call to authenticate users.- In your
AndroidManifest.xmlfile, add the following code:
- In your
 <intent-filter>
                <action android:name="android.intent.action.VIEW" />
                <category android:name="android.intent.category.DEFAULT" />
                <category android:name="android.intent.category.BROWSABLE" />
                <!-- Registered Callback URLs in TwitterApp -->
                <data android:host="twittersdk" /> <!-- host is option -->
            </intent-filter>
You remember I had told you about adding the twittersdk as a callback url in your project settings, Now you can see it's use case. It will help twitter go back to your app once done authenticating.
In your info.plist file, add the following code:
  <key>CFBundleURLTypes</key>
      <array>
          <dict>
              <key>CFBundleTypeRole</key>
              <string>Editor</string>
              <key>CFBundleURLSchemes</key>
              <array>
                  <string>twittersdk</string>
              </array>
          </dict>
      </array>
Please note for iOS to work, the
platform versionshould be'12.0'or up. You can always change this in your Podfile inside your iOS folder.# Uncomment this line to define a global platform for your project platform :ios, '12.0' # CocoaPods analytics sends network stats synchronously affecting flutter build latency. ENV['COCOAPODS_DISABLE_STATS'] = 'true' project 'Runner', { 'Debug' => :debug, 'Profile' => :release, 'Release' => :release, }Good, now we have already set up both
androidandiOSfor Twitter Login.Writing Code to Authenticate our users
Install
twitter_loginin your dependancies.dependencies:dependencies: flutter: sdk: flutter # The following adds the Cupertino Icons font to your application. # Use with the CupertinoIcons class for iOS style icons. cupertino_icons: ^1.0.2 twitter_login: ^4.4.2Create a TwitterLogin Class in your dart code and write the function to authenticate users as follows:
  import 'package:flutter/material.dart';
  import 'package:twitter_login/entity/auth_result.dart';
  import 'package:twitter_login/twitter_login.dart';

  class TwitterLogAPI {
    // Credentials for Your Project [Twitter]
    static const  apiKey = "YOUR_API_KEY";
    static const secretKey =
        "YOUR_SECRET_KEY";

    static final twitterLogin = TwitterLogin(
      // The API Key for our APP
      apiKey: subApiKey,

      // The [SECRET KEY] for twitter Login
      apiSecretKey: secretSubKey,

      // The redirect Url
      redirectURI: 'twittersdk://',
    );

    static Future logIn() async {
      final AuthResult authResult = await twitterLogin.login();

      switch (authResult.status) {
        case TwitterLoginStatus.loggedIn:
          return authResult.user;
        case TwitterLoginStatus.cancelledByUser:
          print("---CANCELED BY USER--")
          return null;
        case TwitterLoginStatus.error:
        case null:
          print("---ERROR OCCURED--")
          return null;
      }
    }
  }
In the class, we first create an instance of Twitter Login and providing the credentials (API KEY & SECRET KEY). In the function, we initiate the actual login which resolves with an AuthResult. Handle this AuthResult status.
We want to initiate this on when a user presses a Button.
  AuthButton(
            icon: BootstrapIcons.twitter_x,
            color: Colors.black,
            callback: () async {
              var user = await TwitterLogAPI.logIn(context, false, authProvider);

              print(user);
            },
          ),
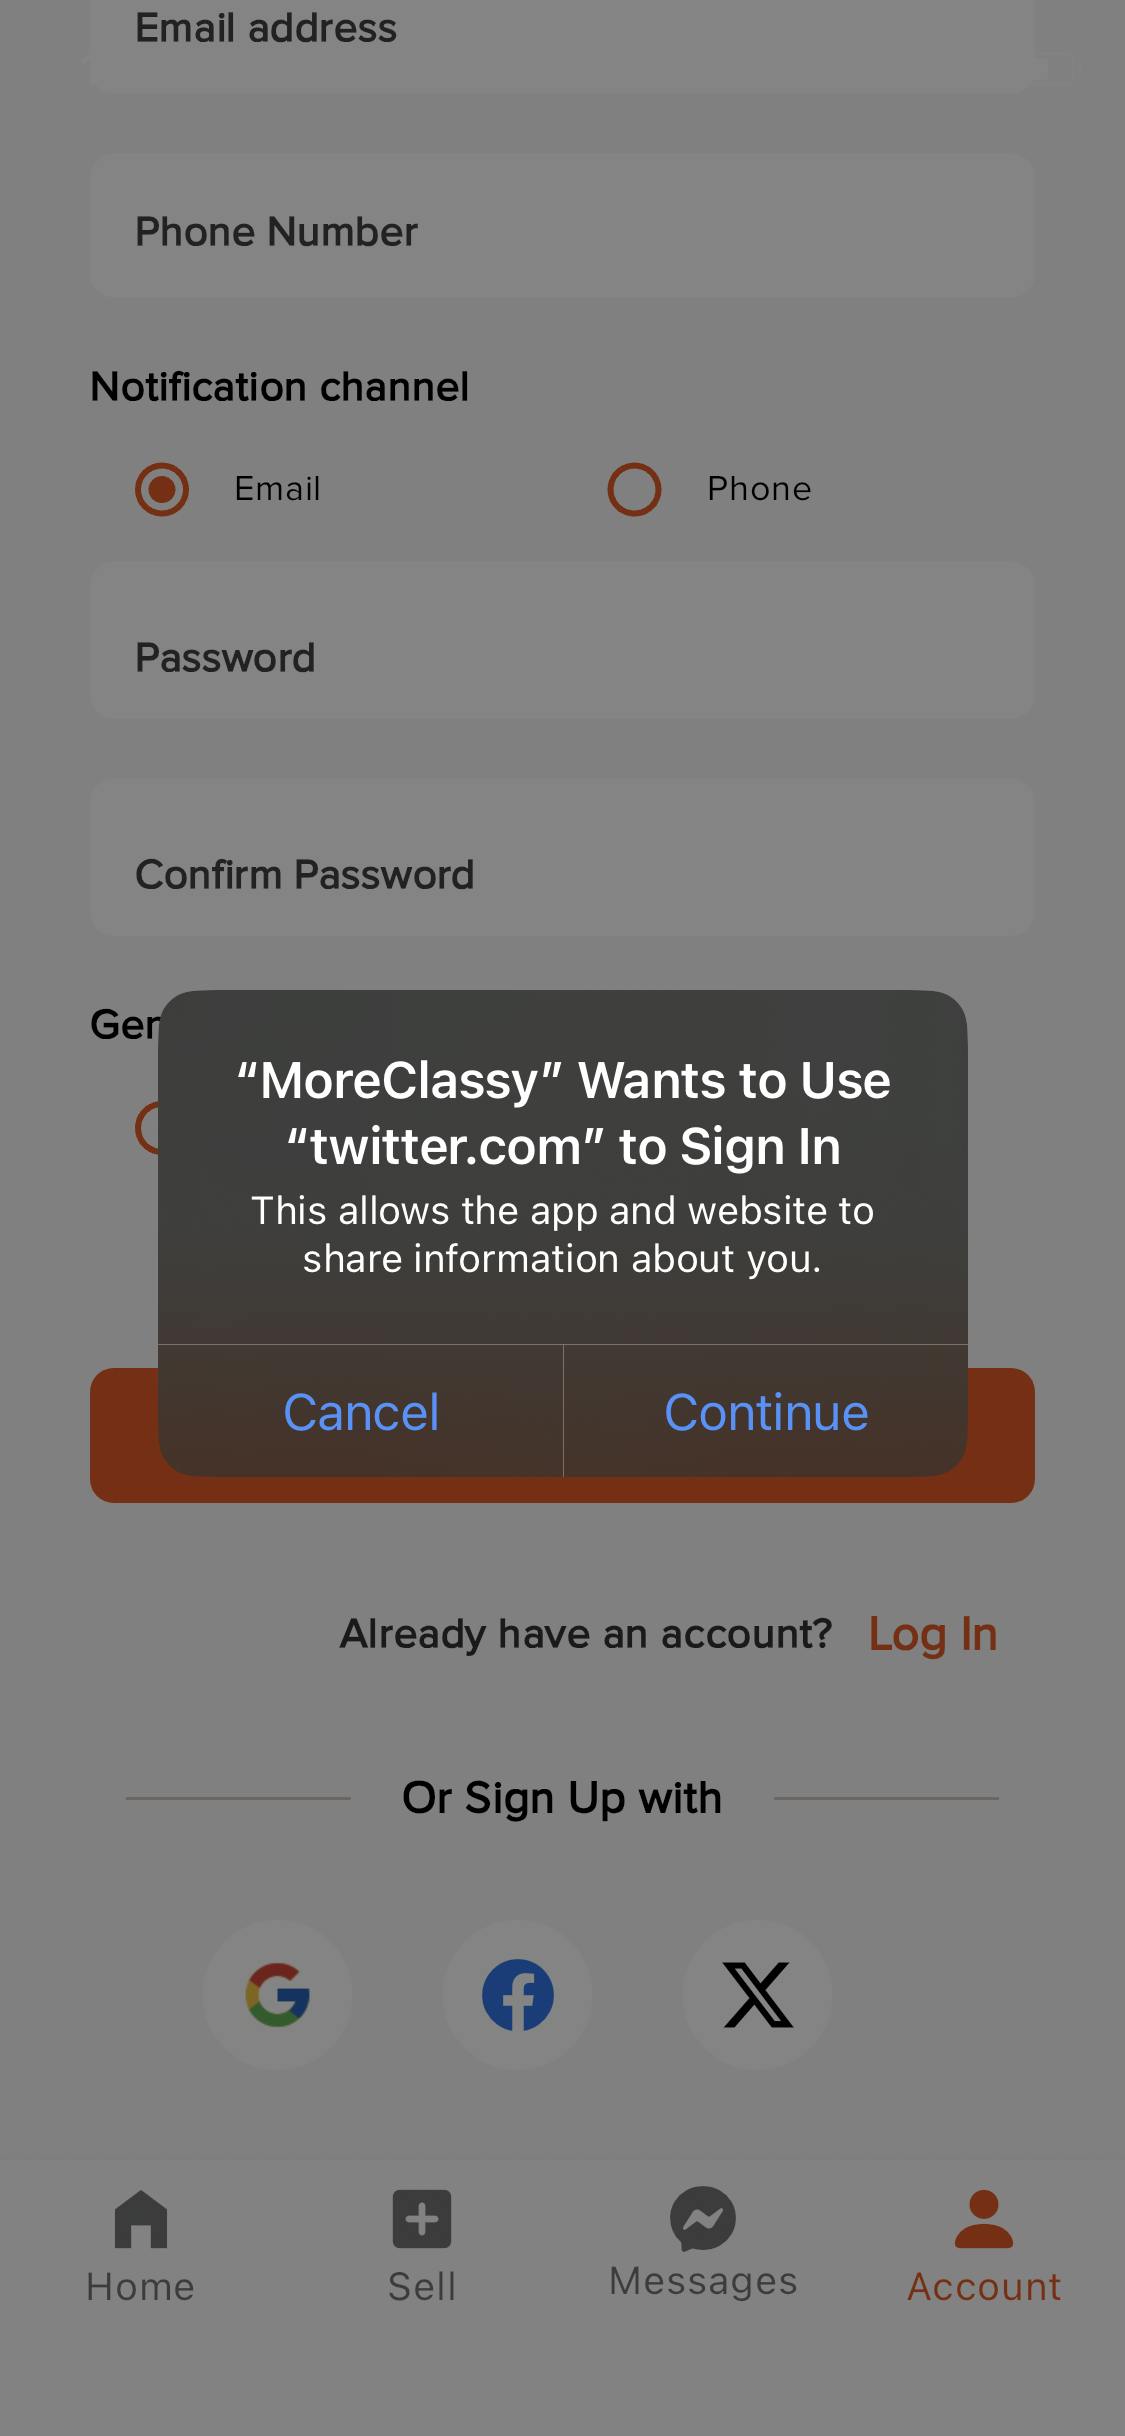
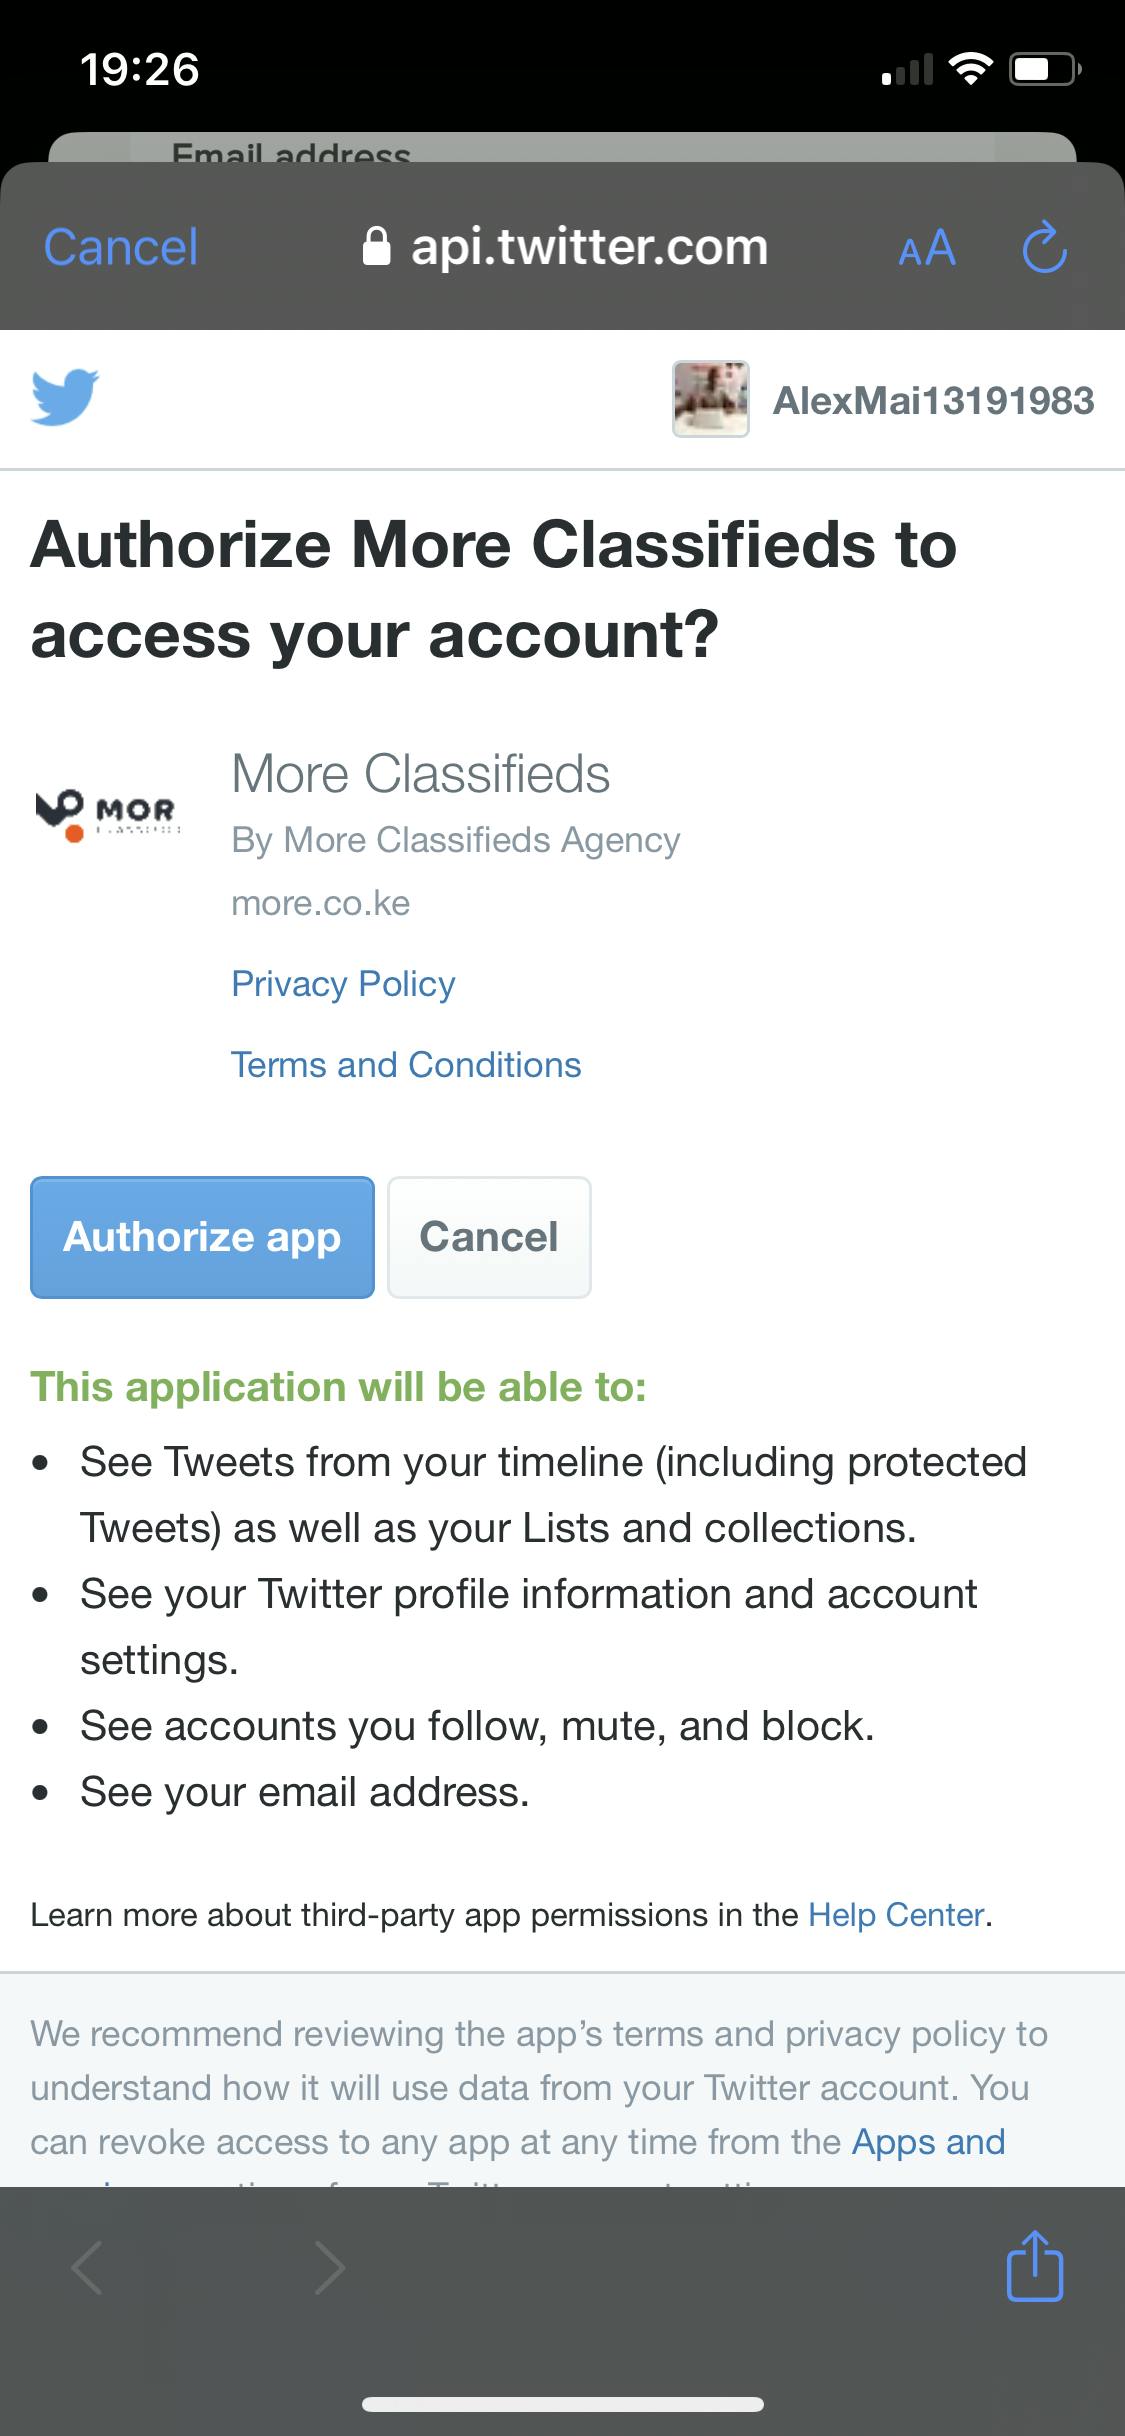
When pressed, a twitter login dialog or a sheet will be presented where the user can authorise login.
Wrap Up
I have shown you my solution to on how to authenticate your users without Firebase, empowering you to create a seamless user onboarding experience, reducing third-party dependencies, and enhancing your app's overall performance.
In other words, your next social authentication without the need of Firebase, simplified.
So design solutions so that they can easily evolve with you.
I hope it was useful for you!
Bye 👋!